Friday 2nd February 2024
Portraiture,
the art of capturing the essence of a person's likeness on paper, is a timeless
art form that has captivated audiences for centuries. From the Renaissance
masterpieces of Leonardo da Vinci to the modern hyperrealism of Chuck Close,
portraits have the power to transport us into the lives of others, revealing
their emotions, personalities, and the stories they hold within them.
While drawing a realistic portrait may seem daunting, it is a skill that anyone can learn with dedication and practice. In this step-by-step guide, we will delve into the world of portraiture, exploring the techniques and tools that will enable you to create captivating likenesses that will leave a lasting impression.
Step 1: Preparation and Observation
The foundation of any successful portrait is careful observation and preparation. Before you pick up your pencil, it is essential to choose a suitable reference image. Look for a photograph or live model that is well-lit and has a clear expression. If working from a photograph, ensure that it is high-resolution and has a decent amount of contrast.
Once you have selected your reference image, find a comfortable workspace where you can focus on your subject. Set up a good light source that illuminates your face evenly. If working from a live model, consider using a tripod to keep your subject steady.
Step 2: Constructing the Basic Structure
The first step in creating a realistic portrait is to establish the basic structure of the head. This involves dividing the head into proportionate sections, similar to a blueprint. A common method is to use the Loomis method, which divides the head into five basic shapes: the top circle, the middle rectangle, and the lower triangle.
Start by lightly sketching the overall outline of the head, using guidelines to establish the placement of the eyes, nose, and mouth. Pay close attention to the proportions of these features, as even slight variations can affect the overall likeness.
Step 3: Refining the Features
Once you have established the basic structure, it's time to refine the individual features of the face. Start with the eyes, which are often considered the windows to the soul. Use light and shadow to create depth and dimension, paying attention to the subtle contours and details of the iris, pupil, and eyelashes.
Next, focus on the nose, which plays a crucial role in conveying the character of the face. Capture the shape and structure of the nose, including the nostrils, bridge, and tip. Shading and blending can help to create a natural and realistic appearance.
Finally, move on to the mouth, which is expressive and can convey a wide range of emotions. Pay attention to the shape of the lips, the curvature of the smile, and the subtle lines around the mouth.
Step 4: Adding Texture and Details
As you near the completion of your portrait, take the time to add texture and details to bring your drawing to life. Use a variety of pencil grades, ranging from soft to hard, to create a range of values. Experiment with hatching, cross-hatching, and stippling techniques to create depth and texture in the skin, hair, and clothing.
Step 5: Refining and Polishing
Take a step back from your drawing and evaluate the overall likeness. Are the proportions accurate? Are the features well-defined and proportionate? Make any necessary adjustments to refine the details and ensure that the portrait accurately captures the essence of your subject.
Step 6: Adding Finishing Touches
Once you are satisfied with the overall composition, add finishing touches to enhance the realism and impact of your portrait. Use a blending stump or a tortillon to soften sharp edges and create a smoother transition between tones.
Additional Tips for Success
Practice consistently:
Drawing realistic portraits requires regular practice and dedication. Set aside time each day to draw, even if it's just for a short period.
Use high-quality materials:
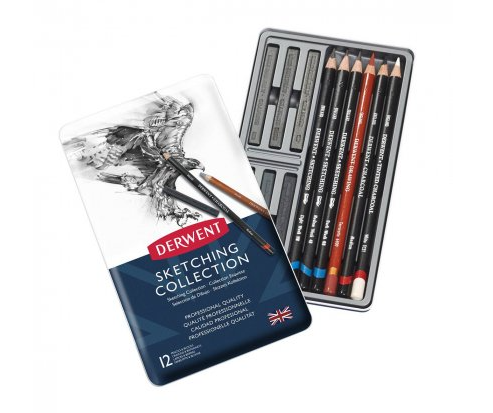
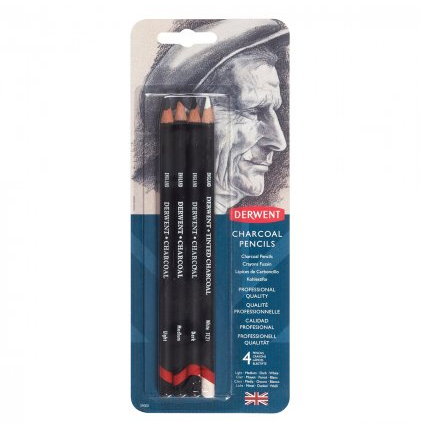
Invest in good quality pencils, erasers, and paper that will allow you to create detailed and nuanced drawings.
Seek feedback:
Share your work with other artists or experienced mentors who can provide constructive feedback and help you identify areas for improvement.
Never give up:
Learning to draw realistic portraits is a journey that takes time and effort. Be patient with yourself, celebrate your progress, and don't be afraid to experiment with different techniques.


 GBP (£)


